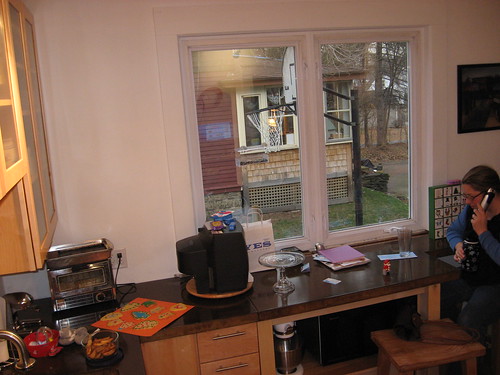
It's fun to spend time in the kitchen! Making cookies, talking on the phone.
Friday, December 22, 2006
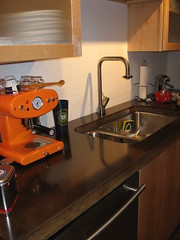
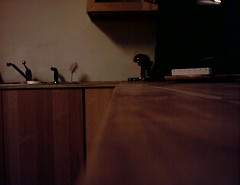
Faucet installed
The faucet went in Wednesday afternoon. Just in time for holiday visitors. It would have been trying to go sinkless during the holidays. If you live in Noho, Claude Laprade is the man. Although he's probably busy...but you really can't go wrong. Bravo Claude! Happy Holidays.
Thursday, December 21, 2006
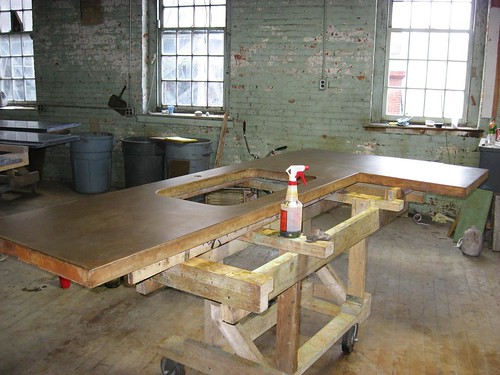
Countertop Arrival
The Stone Soup guys backed the truck up and extended the ramp directly from the street to our front door. (Whether there were any trolls under the bridge, we may never know!) The largest pieces were on special dollies that wheeled into the house. The dollies flipped up, allowing pieces to be moved the shortest distance under their own weight.

Wednesday, December 06, 2006
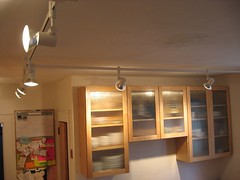
Lights update
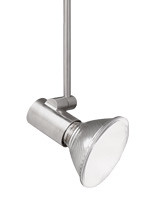
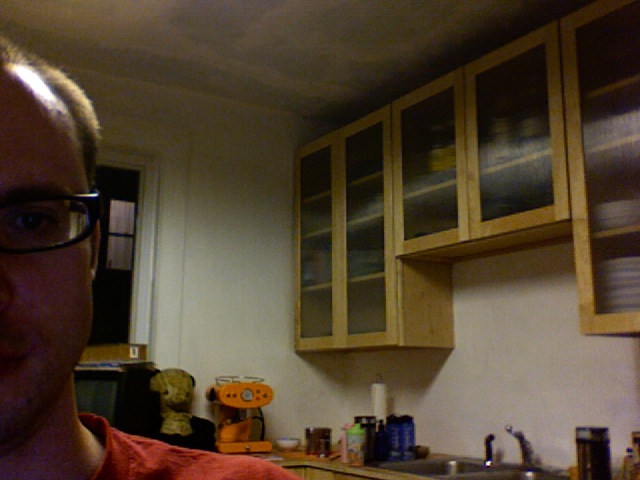
Well, our Tech lighting is not quite all complete. We ordered 1" standoffs and one of the standoffs was a 2". As you can see here with Mr. Too Tall:
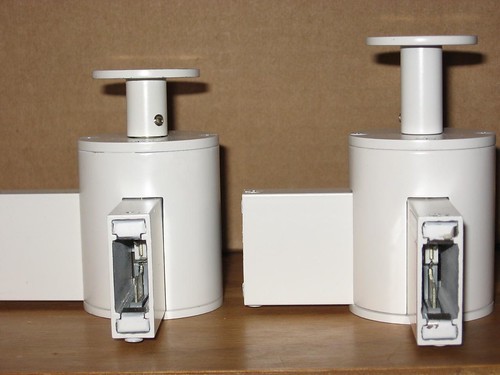
So that tiny detail has kept us from getting all the lights up on the ceiling. I heard from Hampden-Zimmerman: the wee standoff is on order, but is held up by Tech to ship out with another HZ order. I guess the $2k we paid for the lighting doesn't prompt Tech or HZ to ship the wee piece to us FedEx directly. So we wait. The other Tech order is expected to ship around Dec. 12. So we should have the newest addition to the short standoff club by Christmas.
How's that for a holiday lighting story?
Saturday, November 11, 2006
New Countertops
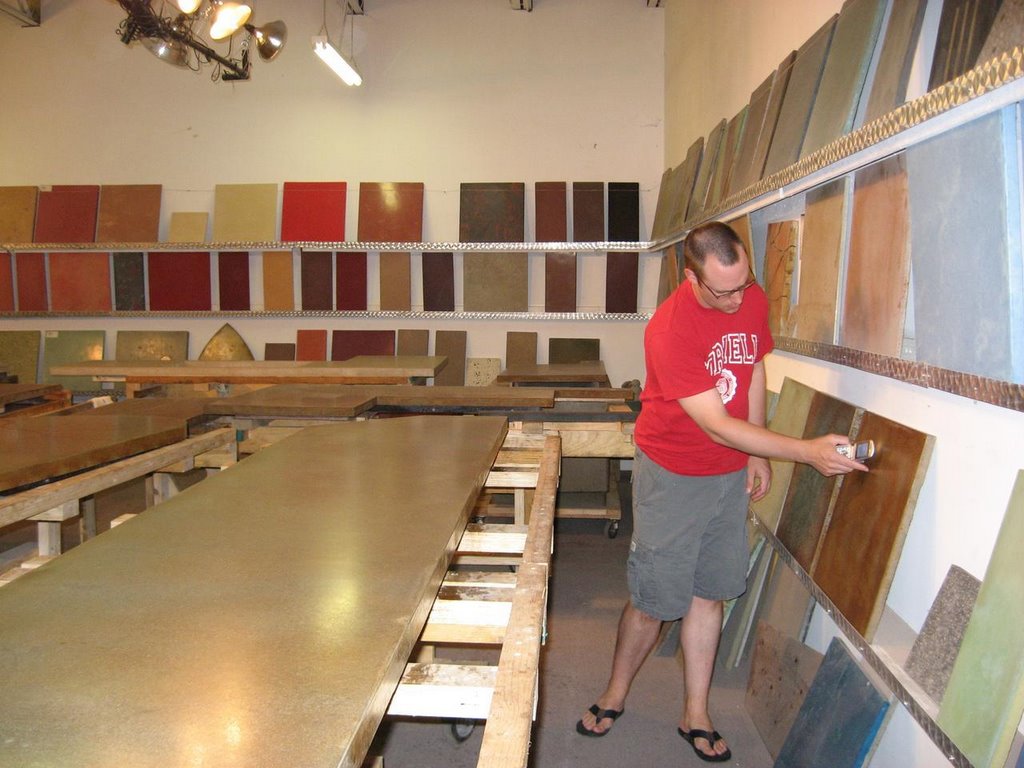
We sprang over to the Arts & Industry building today to check in on the open house and have a look at the progress being made on our concrete counters. Stone Soup Concrete is handling the job, and they're great.
They've just expanded the space they have, so there's room aplenty to see the countertops and sinks and vanities and bars. You name it, they make it out of concrete.
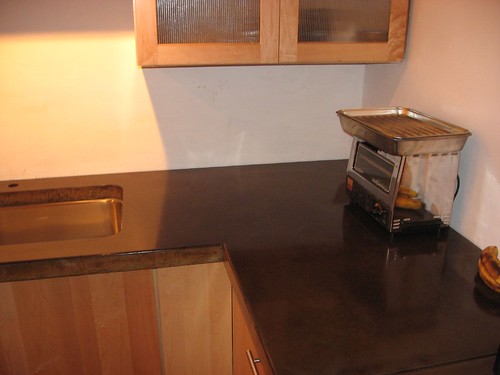
Our counters are five pieces in total. This picture shows the sink. We've got an undermount Elkay sink (one big bowl with a tiny shallow bowl for the disposer) and a very swank faucet by American Standard. We kinda went whole hog on the faucet, because you touch that every day for 20 years. Why not have it silky smooth and functionally beautiful?
The countertops are sweet. They bear the evidence of being handcrafted. As my Richard Sachs t-shirt says: "Imperfection is perfection." Every non-machine cut edge, every non-form molded piece, is unique and could not be duplicated. They are quite literally, functional pieces of art. It's not high art, but it will be beautiful in our kitchen for many years to come.
Thanks guys!
Monday, November 06, 2006
Tech Lighting

Friday and Saturday Nicole and I mounted some of the Tech Lighting. It wasn't hard, after our electrician Dave Foster put in some boxes. The plaster got patched and the lights went up fairly easy. I worried too much.
More pictures coming soon. Or you can click on the photo here to see some more on Flickr.
Tuesday, October 31, 2006
Updated kitchen counter dinette
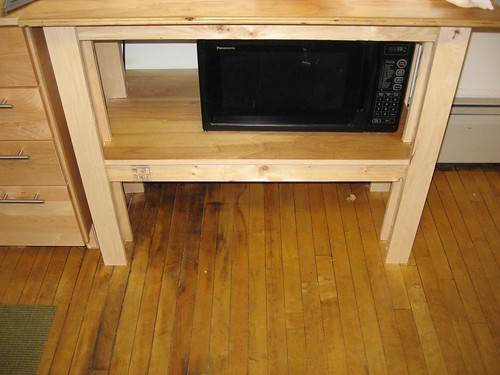
I picked up some maple boards Saturday from Noho lumber (along with a couple three sheets of maple plywood, ouch!) and spent the rest of the weekend getting tings in order. I'm not much of a finish carpenter. Haven't actually finished anything up to this point. This may be the first. But of course it's not done yet. Hope I just didn't jinx myself!
Here are some more photos
Wednesday, October 18, 2006
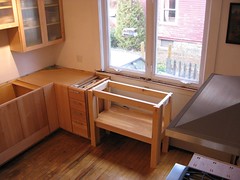
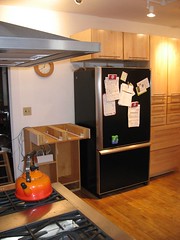
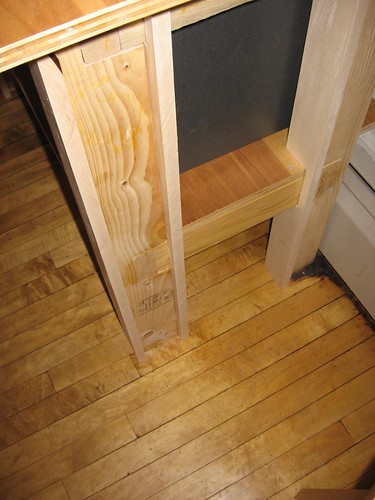
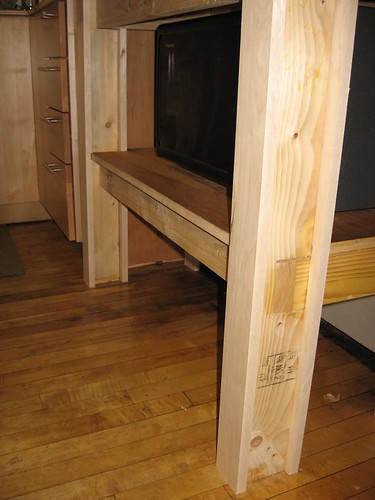
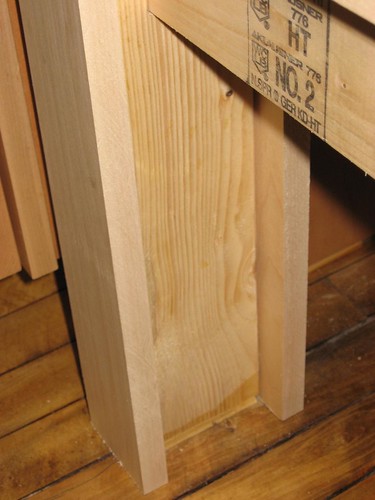
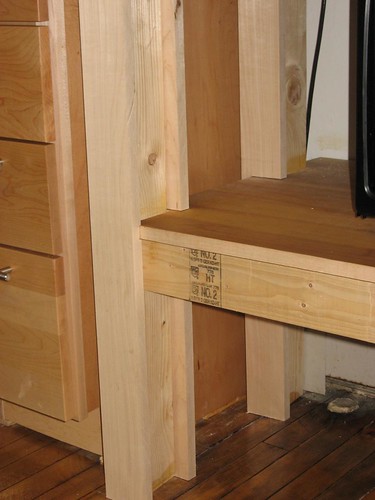
Island in the Sun
Here's a little look at the island. It's constructed of 3/4" maple plywood. The side facing the window is open. The full length door attached to the custom fabricated pull-out trash can will cover that up. Over here on the dark side (or do I have it turned around? --it is on wheels ya know!), there will be a faux door, complete with towel rack style hardware. Just like the rest of the kitchen.
Here's a picture of the hardware, again, for those who haven't seen it all: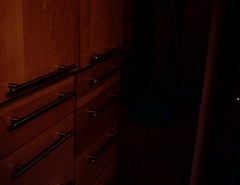
Inside, besides the trash can pull-out there'll be a drawer that will house the trashbags and trashy stuff. The drawer functions as a lid to the trash can, so that when the "trash drawer" is closed, the upper drawer sits directly over the top, sealing in the stink with a rubber gasket affixed to its bottom.
I sometimes wish I had a rubber gasket affixed to my bottom.
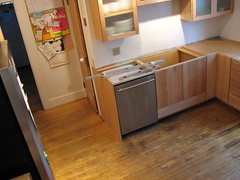
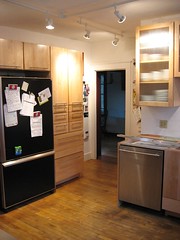
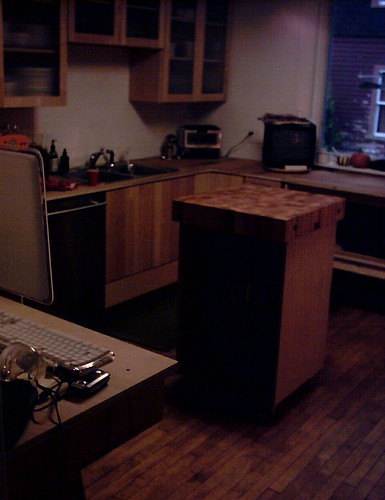
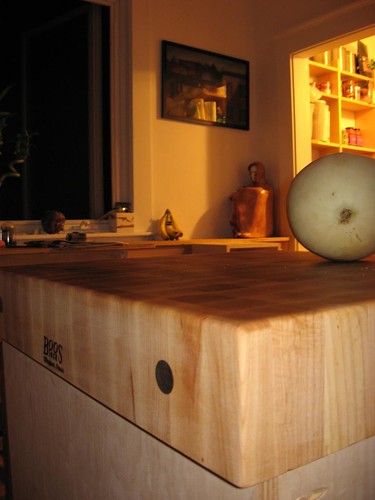
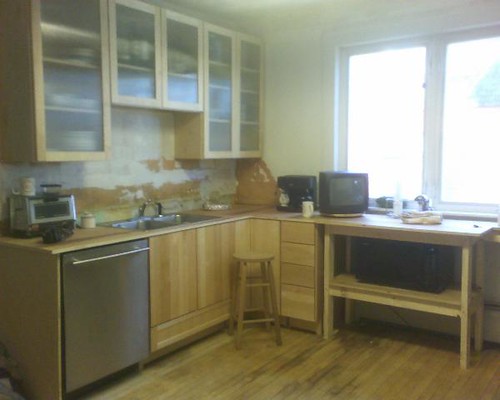
The kitchen is now more or less done. I created a list of stuff that still has to be done or installed, and it is lengthy. But right now, our kitchen has full functionality. It feels good to have completed this much. There's still more to go, but how many kitchen remodels do you know of that took over a year, cost less than $20k for deluxe stuff including all appliances, and the humans never had to live a day without the sink or stove? I don't know of any...I'm sure there are millions, so spare me your details. Just a little pride talking here...I just need to let myself believe that a job like this can take a year and not be a disaster. Now I've done it.
Here are some pictures of our work so far. Pretty woody, huh?

Monday, October 16, 2006
Island on wheels
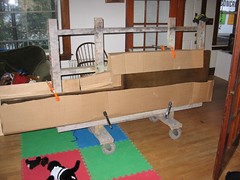
I spent about an hour working on Sunday to chop down the cabinet carcass a few inches, since I goofed the overhang dimensions of the butcher block top . Once I got that cut, I installed the casters I picked up earlier from Woodcraft and then brought it upstairs to try out in the kitchen.
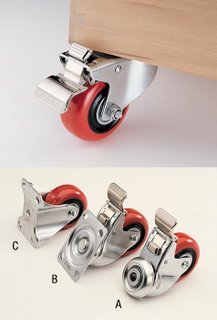
Wow. I have to say the whole thing is great. It moves easily. The island can be locked down and used or whisked away into the pantry or dining room. I wonder why islands aren't all made this way. The height is great for just leaning against, so standing up chatting with the cook, having a glass of wine or scotch, is now the standard kitchen pose.
More pictures to come. Here's a picture of the casters I used:
More pictures of the finished cabinet will be uploaded, along with plans in the coming weeks, once all the details are finished.
Next up on my docket are some pictures of my work shop. In the grand scheme of things, the workshop has been one of the areas that's plagued a quick turnaround of the kitchen job. As we close in on finishing the kitchen, the next project, which is an attic conversion to create a third floor office/spare bedroom/storage area, will require that the workshop be well organized. So the basement workshop will be walled in, dust collection and air filtration will be added, a few new tools (bigger contractor's table saw perchance?), and full storage. The old kitchen has given up its cabinets for the shop, and the temporary birch plywood counter that currently graces our kitchen will provide some ample benchtop space.
Speaking of the kitchen, it has the following list of items hankering for my attention:
lighting
trim
exhaust vent
refrigerator's maple panels
painting, ceiling
backsplash tile
counter installation
mail sorting wall cabinet
magnetic panels and creative wall
Sunday, September 24, 2006
Tuesday, September 19, 2006
September 9, 2006

I shot a few photos with my cameraphone when we visited Stone Soup to order our countertop. This is just one corner of one space they've filled. They're expanding. Business looks brisk!
Friday, September 15, 2006
Counter Top Extravaganza

Last Saturday, Nicole and I tromped on down to Stone Soup to pick a color and drop off our sketch. We picked a color and they named it for us. Super. The color is like old tanned leather (an acid effect) and we hope it will look like it is as old as the house. The thing that always has bugged me about new kitchens is that they look too new. In my mind the beauty of concrete is that it can look aged. Since it is formed by hand, there's evidence that human hands worked on it. Edges are crisp, but not die cut, the color warm and fuzzy. It has patina. It will grow more character with age. It should never look worn out.
I'm also in the process of building a kitchen trash receptical/island. Here's a picture of the John Boos top it's gonna have.
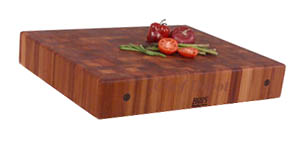
Ours will be maple however not Lyptus. The bottom will look like the other cabinets I've made, 3/4" maple plywood construction. It'll have 3.5" red locking casters from Woodcraft.
Tuesday, August 29, 2006
Backsplash
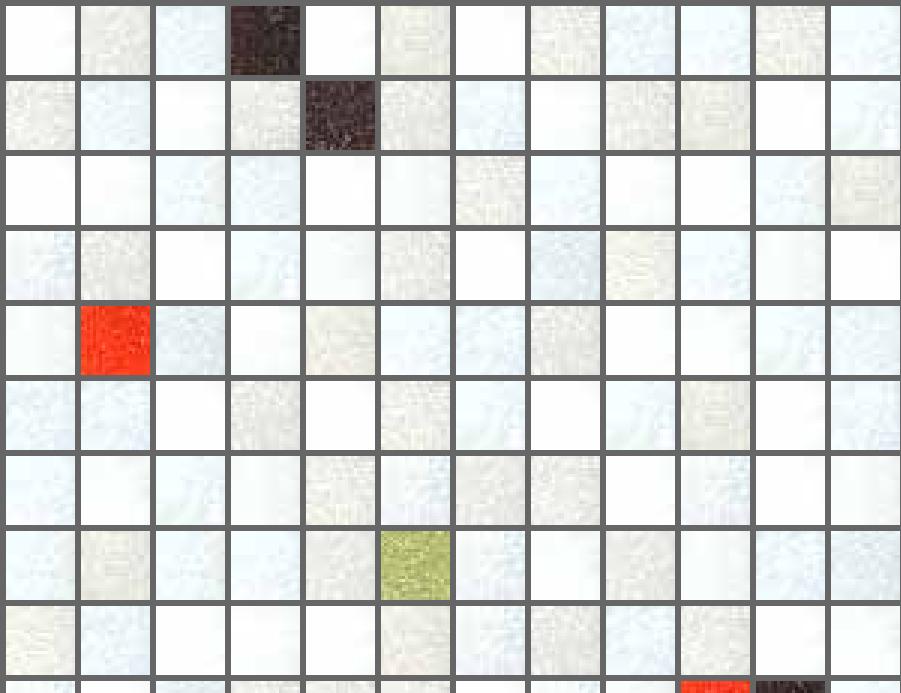
We ordered some additional samples from Susan Jablon Mosaics. I like the site, and the other tile samples we received were great - just a bit too colorful. Anyway, we like this one and if our eyes like the samples as much as our heads , these will be up on our kitchen wall soon.
Tuesday, August 15, 2006
we bought these
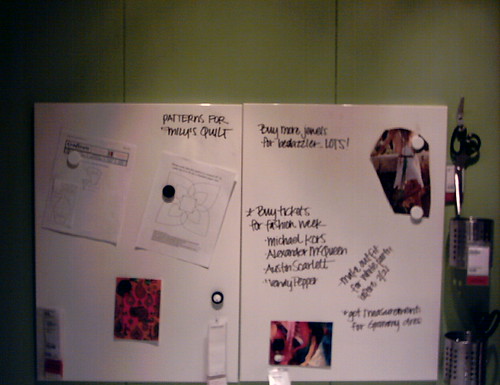
Since our refrigerator will cease being photo central soon and no one liked the idea of giving up on cool magnets, we bought two of these white boards from Ikea. They were pretty cheap, simple. The plan is to mount them on a wall in the kitchen, where M will be able to play with her talking alphabet, and see our photo montages/pictures. Later we'll let her play with the dry erase markers!
Friday, August 11, 2006

Wednesday, August 09, 2006
Tweak by TechLighting
We're using the Tweaks in our kitchen remodel. We have 10 of these puppies pumping out some thrills. It's a T-Trak line voltage head. We're using a two different bulbs, a 75 watt flood and a 75 watt narrow spot. Spots for art, floods for work areas.
We got ours at Hampden-Zimmerman in NoHo. Well, we're getting ours from them...once tax free day comes.
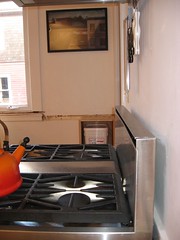
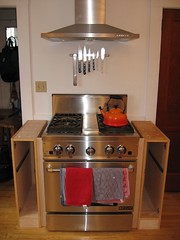
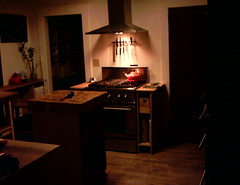
Range with hood and knives
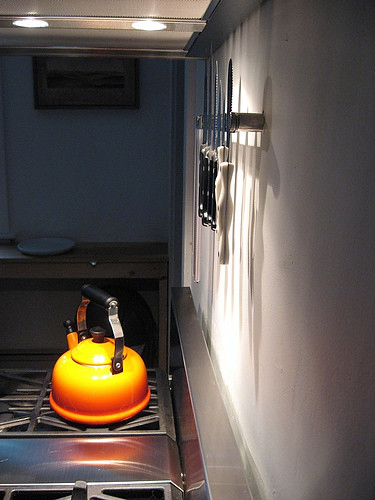
A few weeks ago, Nicole got tired of waiting for me to hang the range hood. Despite not having the exhaust ducting in hand, we spent a couple of hours and hung the art. It's dramatic, and we're pleased. Nicole is more pleased, since the basement is now missing a humongous and heavy box.
Friday, July 21, 2006
Proof that nicole did paint in June!

Those June photos are pretty dark. Here's true proof that Nicole painted (she painted in June and into July).
It's nice and bright. The floor still needs to have a second coat of Velvit Oil applied. We may do that this weekend when we hang the range hood. (We're hanging it, but we won't run the ductwork right away...not until we have it fabricated and I can punch a hole in the exterior wall.)
Drawers
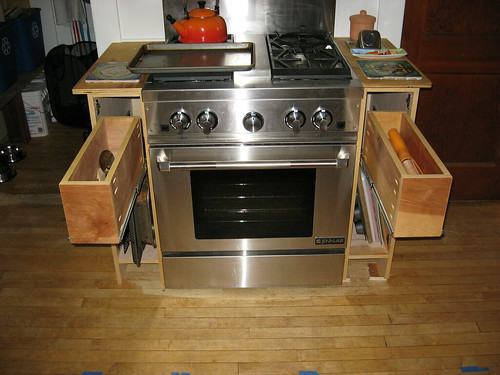
I've been quiet for quite some time on this blog, but not because I haven't been busy! I built up two drawers for the landing pads and built new cabinets as well...did I mention that before? I guess not!
Anyway, the drawers are deep and hold handy things, like tongs, flippers, mitts, and cooking nick nacks. The cabinet doors and trim are not done yet, because I haven't had the time to fabricate yet. I will, oh, yes, I will have the time eventually. Part of the slowness is the custom nature of the woodworking I have to do. I spend a lot of time measuring and about ten minutes cutting. Then fabrication, always a big mystery, takes up the rest.
I built these cabinets first, and then got them all together, then realized some slides I had bought for the secretary desk weren't going to work. I turned to the left and saw the then new landing pad cabinets and thought, "drawers!" Thankfully, since I used pocket screw joinery, I was able to take them all apart (no glue!) and install the slides, build the drawers and reassemble. Nicole then Velvit Oiled them, and presto! New look, new functionality. We like them. (Oh, and I edgebanded it all too. That was fun.)
Monday, June 05, 2006

Wednesday, May 31, 2006
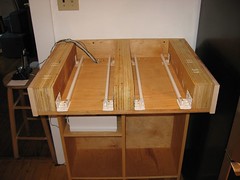
cabinet with counter base for drawers
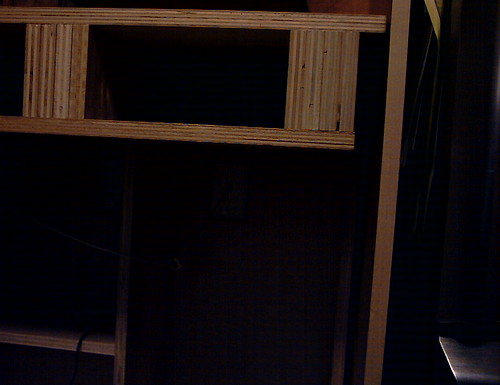
Two weeks ago Sunday I built a 12" deep base cabinet and a 24" counter base. I over built it, completely out of 3/4" birch and maple plywood, with tons of pocket screws.


The whole thing will have a concrete top. In this picture the top is 3/4" plywood. Picture a 1.5" concrete slab and a nice single slab of maple connecting two drawers.


I salvaged the drawers from the Thomasville mistake. They're not bad. Nicely dovetailed. Pretty solid. I'll get some AccuRide slides (maybe full extension if they'll fit...they're pretty narrow drawers.)

Friday, May 19, 2006
Rainy Weekend Cabinet Work, 2
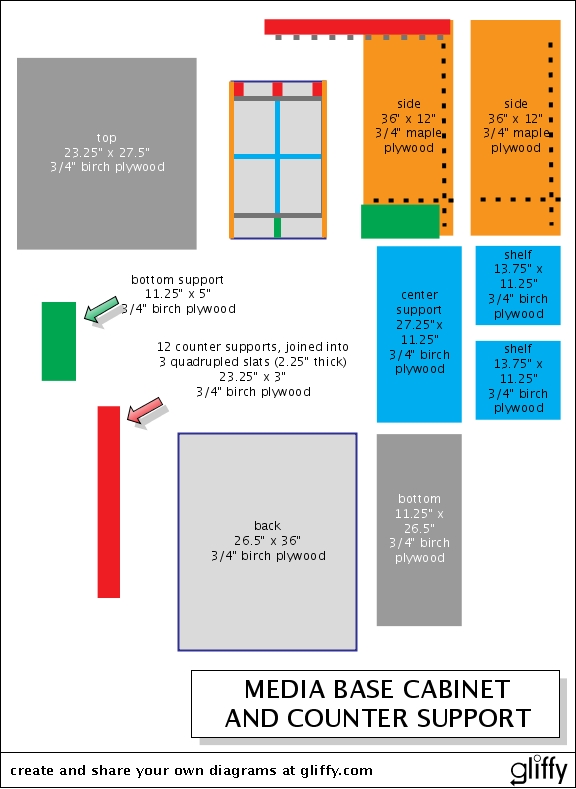
I was inspired to combine a shallow base cabinet, a secretary, a concrete counter and room for storage. The project is centered around providing storage for our phone and assorted electronics - fax/copier, Mac Mini (so I'm planning), key storage, mail sorter, drawers for pens and pencils, phone books, etc.)
Originally I drew up a huge wall cabinet, but decided to break it into a base cab and wall shelf, to contrast with the wall stack to the immediate right. This project shows just the base cabinet cut plans. I'll use pocket screw joinery and some wood glue on the quadrupled slats that will support the concrete counter extension.
I'll probably add doors later, and most likely a divided drawer (one face, two drawer boxes) before the concrete goes in.
Subscribe to:
Posts (Atom)
It shouldn't take too long to rehash it. I also built a corner cabinet, and we're hosting some of John's artwork...there's one peaking out in the corner.
Maybe we'll have a show for him? Hmmmm. Drink wine, show friends the work we've completed on the house, drink wine, have some cheese, sell some artwork....hmmmmm.