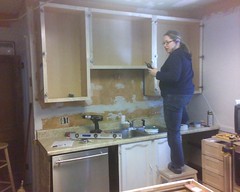
Sunday evening I finally got to the cabinets I've been referring to as the "refrigerator stack." The stack consists of a two drawer base cabinet with two multipurpose 24" deep wall cabinets on top. There's a fridge top cabinet and a wall panel to complete the bridge over the fridge, but that's something for the next few weeks.
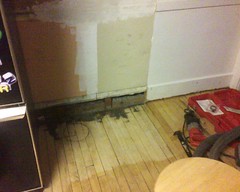
Anyway, here's how it all went down. First I prepped the floor area and removed the last parts of the baseboard so the base cabinet could sit flush with the wall. That's neighbor Jon's Sawzall. Mine (handed down from my Father-in-Law) would have worked just fine - it's an orginal all poslished metal Milwaukee - but since I happened to be over next door when Jon had his handy, I used his. He's got some nice tools.
Next I patched the wall. I just couldn't see putting in a semi-permanent cabinet and not patching a hole in the plaster.
Then I anchored the base cabinet after leveling it with shims. Finally I clamped the face frames of the wall cabinets together and secured them with four 2-5/8" square drive deck screws. Then I enlisted Jon's help and we hoisted these puppies onto the base cabinet.
At that moment M came home with Nonni and Gampa and ran into my arms. As I showed her my work (she pointed out I was dirty and asked why I made such a mess) she gave me the biggest hug. I'd only been away from her for less than 24 hours but I still missed her terribly. She's such a sweetheart.
While bags were being brought in, I anchored the top units to the base cabinet (again using the Scorpion ceramic coated deck screws) and to the wall studs. Then I replaced the doors and drawers and voila!
Monday, January 30, 2006
Wall Cabinets Deux


Wall Cabinets

This weekend was all about wall cabinet installation. I myself have never hung wall cabinets, but with a few good tips gleened from hither thither and yon, I made an act like I knew what I was doing.
N and I together took down the old cabinets (they're to eventually grace the wall of our wood shop in the basement) and relocated them downstairs, and then set about getting these new cabinets ready to mount.
First we mounted a 2x4 to studs across the wall, leveling it with our new 4' level. I used 8#x3" deck screws. N was unsure about removing the backsplash, since we're still going to be using the sink while the rest of the cabinets are installed, but we eventually realized we needed to rip that off the wall. It didn't come off without a fight. N took a moment or two of down time to patch and tend to the wall. I've thought about a stainless backsplash, but Jon next door and N both think it might be too cold. "Walk into Friendly's down the street and ask to check out their kitchen," I believe was the sentiment.
Then we clamped the face frames of the trio together and drilled pilot holes for the square drive 2-5/8" ceramic coated deck screws. I drove those in and then fabricated some 1/2" spacers for the backs to keep them together.
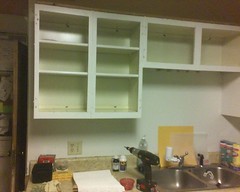
Finally, N and I hoisted the cabinets onto the countertop and then up onto the 2x4 mounted on the wall. From there it was just anchoring the units to studs with 3" decking screws. Pretty simple. N couldn't resist getting on the phone with her headset and chatting up the work we were doing. It reminded me somewhat of a play by play.